Add New User with SSH Access to AWS EC2 and Grant Superuser Access
Add a new user with SSH access to AWS EC2 Linux instance, and grant superuser access through the wheel group.
Note: You need a user account which already has the superuser access, such as "ec2-user".
Contents
- Create a key pair using Amazon EC2
- Add a new user to EC2 Linux instance
- Retrieve the public key from the private key
- Update new user account credentials
- Grant superuser access
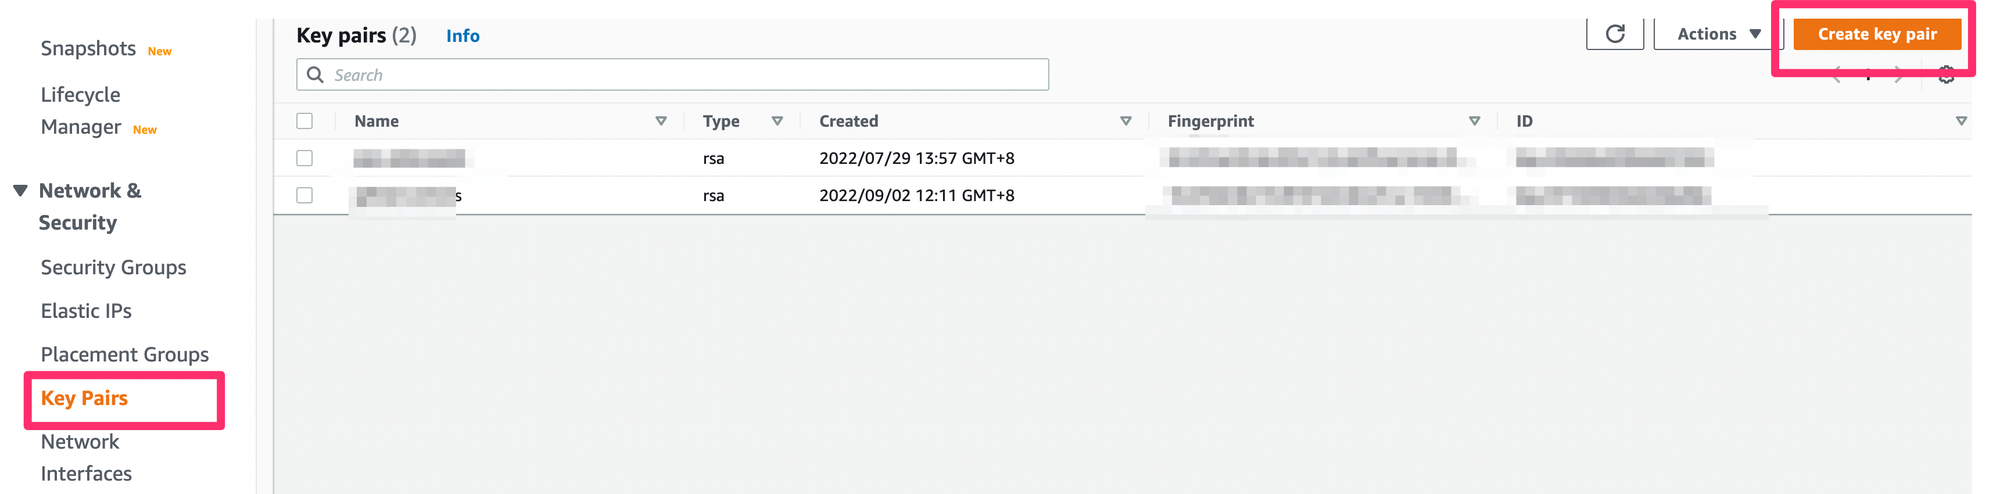
Create a key pair using Amazon EC2
- Open the Amazon EC2 console, navigate to Network & Security, choose Key Pairs, then choose Create key pair.
- On the "create key pair" page, type in your key pair name, choose type, format and add a tag, then click "create key pair".
- After a key pair is created, a private key file is automatically downloaded by the browser. Save it in a safe place. If you are using Linux or macOS, better to save it under ~/.ssh directory, and use the following command to set the permission of the private key file so that only you can read it:
chmod 400 key-pair-name.pem
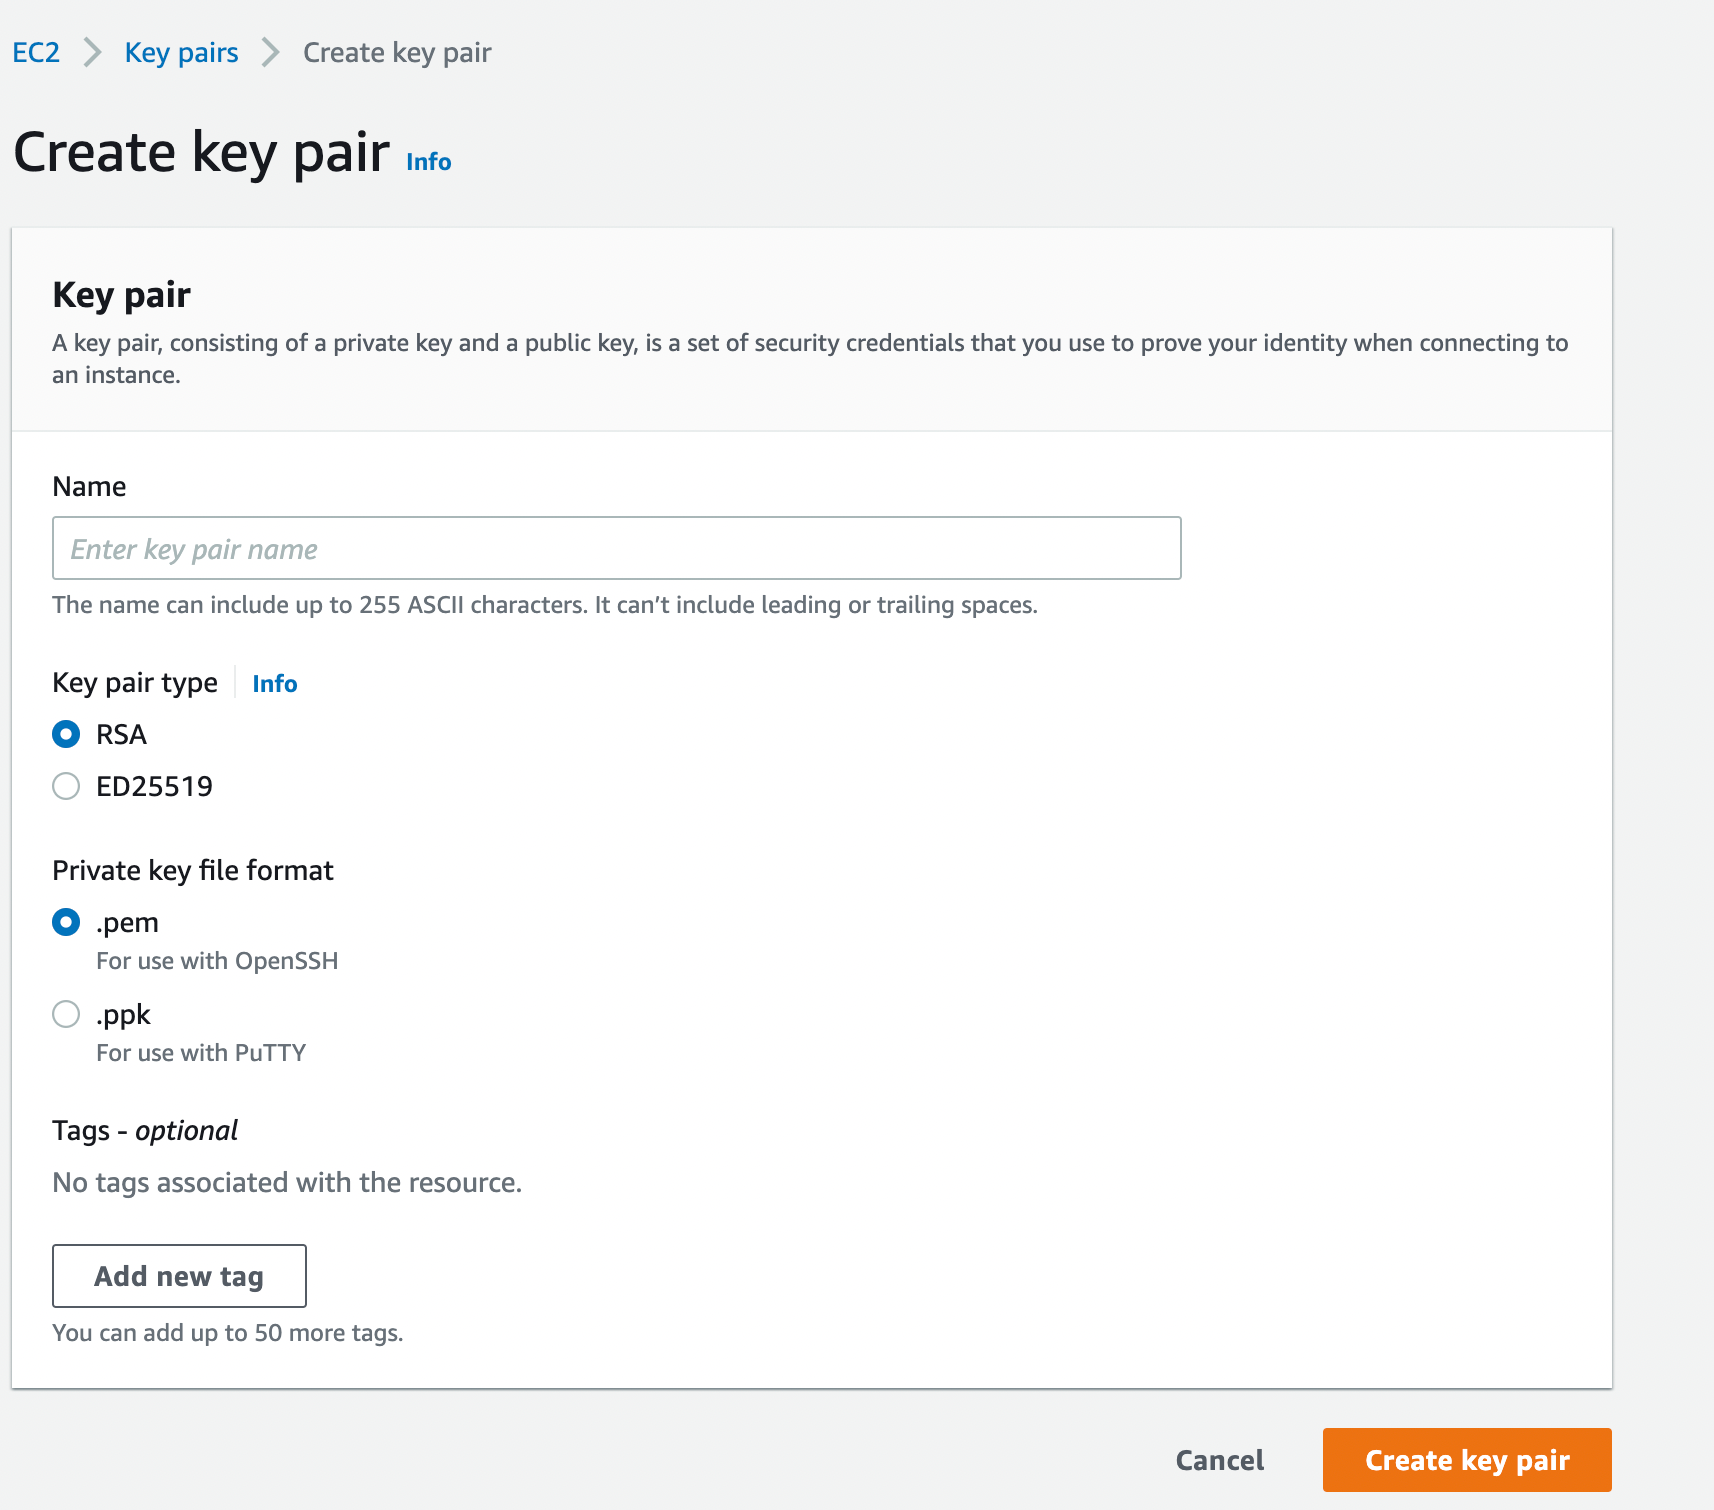
*You can view detailed description on AWS doc
Add a new user to EC2 Linux instance
Connect to your EC2 Linux instance, and type the following command:
- Add new user, e.g.
sudo adduser new_user
sudo adduser <new user name>
- Change the security context to the new_user account, e.g.
sudo su - new_user
sudo su - <new user name>
- Create ".ssh" directory to story key file
mkdir ~/.ssh
- Restrict read, write and open access to the new_user
chmod 700 ~/.ssh
- Create authorized_keys file to store private key
touch ~/.ssh/authorized_keys
- Restrict read or write access to the new_user
chmod 600 ~/.ssh/authorized_keys
Retrieve the public key from the private key
Use the ssh-keygen command to retrieve the public key on a Linux or macOS computer:
ssh-keygen -y -f </path_to_key_pair/my-key-pair.pem>
"/path_to_key_pair/my-key-pair.pem" is the path to the file you get from Create a key pair using Amazon EC2
Update new user account credentials
Connect to your EC2 Linux instance, type the following code and paste the public key which you get from Retrieve the public key from the private key into the .ssh/authorized_keys file and then press Enter:
sudo su - <new user name>
cat >> .ssh/authorized_keys
Now, you have added a new user, and you can verify this by using SSH to connect to the EC2 instance with the following command on your local computer:
ssh -i </path/new_key_pair.pem> <new_user>@<public_dns_name_of_EC2_Linux_instance>
If you receive errors, you can refer to the following docs:
Grant superuser access
When multiple users need superuser privileges, it is not good to share access to root account which will cause a mess. The Linux operating system provides wheel group to grant superuser privileges to individual accounts.[1] You can check this by running sudo visudo in the EC2 instance, and you should see the following line:

You can add the new user you just created to the wheel group by the following command:
sudo usermod -a -G wheel <new user name>
Access superuser without password
Now you have created a new user with superuser access. However, you may find the new user has problems when executing superuser privileges. For example, type sudo su in the EC2 instance given your login account is the new user, you are required to give the password.
You can resolve this by telling Linux that the new user can get superuser access without password, there are two ways to do this:
-
Edit via
sudo visudoand enable the new user to access superuser without password- Execute
sudo visudo, and press "i" to enter the insert mode - Add the command
<new user name> ALL=(ALL) NOPASSWD:ALL - Save and exit: press "esc", then "shift", then ":", at last, hit "return".
- Execute
-
Edit via
sudo visudoand enable the "wheel" group to access superuser without password.- Execute
sudo visudo, and press "i" to enter the insert mode - Add
NOPASSWD: ALLafter%wheel ALL=(ALL), and make sure it isn't commented. - Save and exit: press "esc", then "shift", then ":", at last, hit "return".
- Execute
You can view more about superuser configuration at here